
This post may contain affiliate links. That means if you click and buy from that link, I may receive a small commission (at zero cost to you), which helps me maintain the quality of this blog. Please see my full disclosure policy for details.
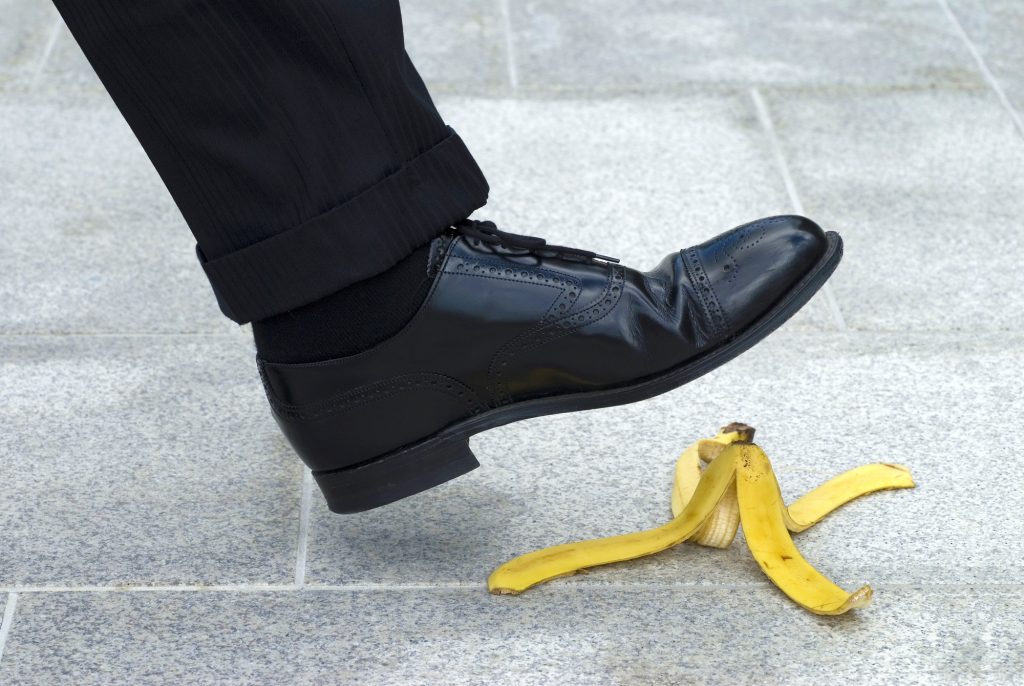
If you want to know the answer for how to make shoes non-slip, it’s because you live in a region where it snows and rains a lot, or you work in a place with slippery surfaces. This is why you need to understand why making your shoes non-slip can benefit you.
If you’re walking in snowy places, then it’s common to slip and fall. The same thing goes for rain-soaked surfaces that are slippery. These conditions make it very difficult to walk without falling or slipping all over the place.
The same happens if you work in a restaurant or kitchen where the floor is always slippery because of water and spills. In situations of danger, you need to have a good pair of shoes that will allow you to walk without falling or slipping all over the place.
After all, if you slip and break a leg or hurt yourself, you will be out of work for quite some time, and that is never a good thing. So, are you ready to learn how to make shoes non-slip?
What Makes Shoes Non-Slip?
The first step towards learning how to make shoes non-slip is by understanding what exactly makes them slip in the first place.
The Design
In most cases, it’s the soles of your shoes that get slippery when they are wet or covered in water. This happens because of a bad design and not because of the material used for their construction. Suitable materials are typically used for manufacturing shoes, but the soles can get slippery because they aren’t properly designed.
Read: How Long Should Shoes Last?
Brands like Vans have non slipped shoes because the sole’s design has treads, a mix of circles, and rhombus across the sole. This restricts greases and water from adhering to the shoe, maximizing the grip within the shoes and the ground.
The Material
A good pair of non-slip shoes will have a rubber sole. This is the best option for a shoe that can provide you with an excellent grip at all times. Rubber soles are sticky, and they give you no chance to slip when on ice or slippery surfaces.
Read: Find Out The Best Men’s Dress Shoes For Standing All Day
Not all rubber-soled sneakers are great for wet floors. For example, tennis and basketball sneakers have a rubber outsole, but that doesn’t mean they are safe to use in slippery places. That’s because they are not tested or intended to work in wet or oily conditions.
How To Make Shoes Non-Slip?
These are the seven tips I have tried to make my shoes non-slip, which worked very well for me and my boots.
Use Sandpaper

![]()
Another way to make your shoes non-slip is to use sandpaper. Sanding on the sole will create a texture that gives additional grip when you walk with your shoes. You won’t even need a particular type of sandpaper.
All you need is a piece of 50 grit sandpaper and your shoes.
This is how you should use the sandpaper method:
- Take a firm grip on your shoe.
- Use sandpaper to roughen the rubber sole. Don’t press hard enough to remove material from the sole.
- Spend more time on the parts of the sole that make contact with the pavement.
- Keep rubbing till you obtained a coarse texture on the sole of the shoe.
Read: How Much Height Do Shoes Add?
This will ensure that you have excellent traction when walking in slippery places so that you never slip or fall.
Score The Bottoms

![]()
Scoring the sole rubber using a knife or scissor will give you better traction when going on slippery areas, including wet floors.
Another advantage is that there are many different ways of doing this. For example, you can score diagonal lines, vertical lines, etc. You can even make a snake pattern all over the bottom of your shoe for excellent traction.
This is how scoring the bottom of your shoes will help you a lot:
- Clean the soles and make sure they are dry. After that, let them air-dry completely.
- Hold your shoe firmly with the sole ride up.
- Score the rubber sole in diagonal lines.
- Score the sole again in diagonal lines to the opposite direction.
- When done, use a little bit of traction spray on your rubber sole to make it better.
Read: Difference Between Loafers And Boat Shoes
Scoring the base of your shoes will provide the necessary traction you need in slippery places and reduce the chances of slipping.
Scuff The Soles
Scuffing the soles of your shoes with a scuff tip tool will create textures that give you the traction you need to not slip around.
This is how you can use this method to make it work:
- Clean the bottom of your shoe and let it dry completely. It would be best to allow them to air-dry for two or three hours then clean them again.
- Hold your shoe firmly with the sole side up.
- Use a small piece of scuff tip to wear down the rubber sole appropriately.
- Repeat the action on different parts of your shoe’s soles.
When scruffing the outsole of your shoe avoid removing too much material from the bottom. The idea is not to compromise the stability or strength of the shoes, but you only want to wear down the sole to create a texture that gives you better traction.
Read: How Many Pairs Of Shoes Should A Man Own?
Scuffing the sole will create patterns that help you improve traction and reduce your risk of slipping on slick surfaces. It’s a great choice to make when wanting to wear non-slip shoes for work.
Use Traction Spray

![]()
Try to use a traction spray on the bottom of your shoe. It will give you the grip that your shoes need to not fall or slip when going on surfaces covered in ice or snow.
If you are on a budget, this is an excellent choice since it’s cheap.
This is how to use the traction spray:
- Clean the outsole of your shoe.
- Spray the sole with the traction spray.
- Let it dry for two to three hours.
This will ensure that your shoes are non-slip and safe for use in any situation.
Read: Check Out My Review Of Amberjack Shoes
Add a Salt and Rubber Glue Mixture
Salt mixed with rubber glue will produce a grainy texture that will provide you with more traction when added to your shoe’s outsole.
This is how you can use this method:
- Clean the soles of your shoes and let them air-dry completely.
- Pour salt and rubber glue in equal amounts in a bowl.
- Mix them until well blended. You want to have an even mixture between both products.
- Using a small paintbrush, apply the mixture over your shoe’s soles.
This is an affordable way of creating traction on slippery areas and keeping your feet from slipping from under you. It won’t cost too much as salt and rubber glue are cheap products that you can find in most home improvement and hardware stores.
Use Grip Pads

![]()
Grip pads will provide you with the traction you need. If applied correctly, this method can work well for non-slip shoes because it doesn’t compromise the structure of your shoe.
This is another cheap trick if you are on a budget.
This is how you should use grip pads:
- Make sure the rubber sole is clean and dry. Let it air-dry for two or three hours in a dry place.
- Pell off the shoe pad’s protective covering and hold it sticky side up.
- Apply the grip pads to the outsole of your shoe on the back part and toe grips in front.
- Press the pad firmly onto the shoe for a few minutes.
- Leave it for 24 hours for the adhesive to set onto the shoe, and then wear the shoes outside.
Using this method will improve traction significantly without destroying the shoes.
Stick Two Adhesive Bandages

![]()
Adhesive bandages are commonly used for injuries, but they’re also great for providing better traction on slippery surfaces.
You can apply them to any shoe you want and attach them to a clean surface area on the outsole.
You should use this method the right way:
- Clean your shoe’s soles completely and let air-dry for two or three hours.
- Peel off the protective coverings from the adhesive bandages and stick them onto your shoe’s soles.
- Press firmly for a few minutes until it’s fully attached to the shoe.
- You can use the shoes straight away, but it would be best to let the adhesive bandages sit overnight before wearing your shoes.
An adhesive bandage can be found in most drugstores or supermarkets. They come in boxes of twelve pieces that cost $1 to $2 dollars depending on the brand and where you buy them from.
Why Do You Need a Slip-Resistant Shoe?
Wearing non-slip shoes can reduce accidents. In addition, you will be less likely to slip on a slippery surface because the shoes provide you with more traction. Even though they aren’t 100% effective, wearing non-slip shoes is always better than not wearing them.
Reduce Accidents
Let me give you a few examples.
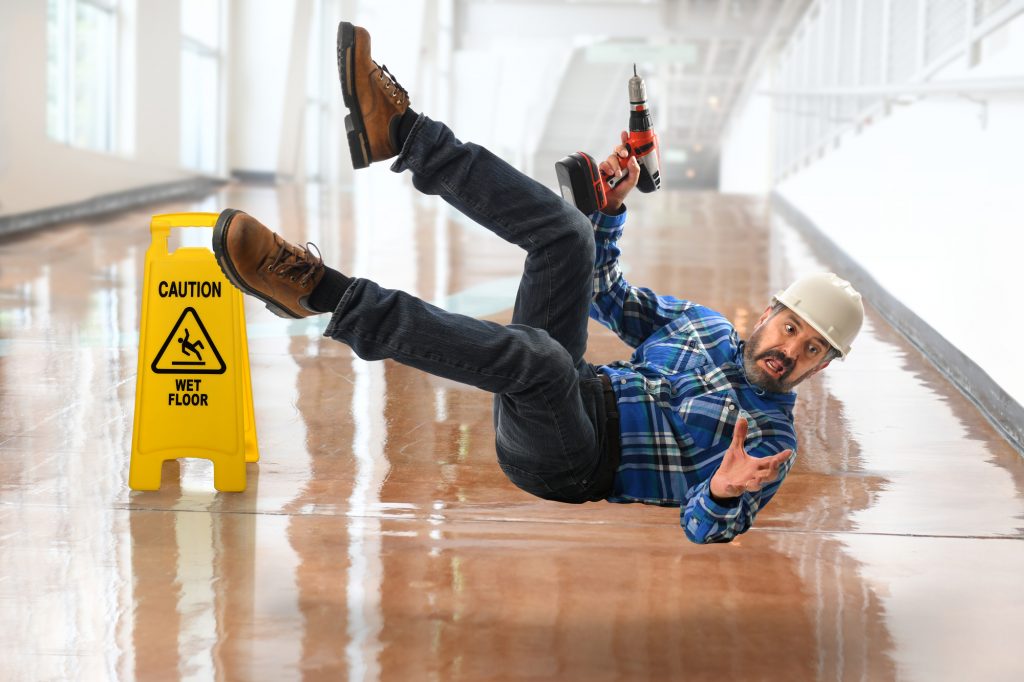
Reduces Accidents At Work
If you work in specific industries, slipping may cause accidents. For example, truck drivers often need non-slip shoes because they have to walk on slippery surfaces such as oil or water, making them slip and fall.
Reduce Accidents At Home
If you have to maintain your house, non-slip shoes may come in handy. For example, these are the perfect shoes for mopping floors or cleaning bathrooms because they grip slippery surfaces better than conventional ones.
Reduce Accidents on the Road
Drivers may also consider wearing non-slip shoes if they have to step on slippery areas while delivering items. It will also make them more productive because they will complete deliveries faster and prevent slips that could cause injuries.
Reduce Accidents in Kitchens
If you have to work in a kitchen, you may prefer non-slip shoes when cleaning the floors or if you have to walk through wet and slippery areas. They’ll prevent accidents such as slipping on oil while cooking.
Repels Oil and Water
If you’re going to work, school, or if you’ll be walking in areas that are covered with water and oil, non-slip shoes will repel the liquid. This means your feet will stay dry and clean all day without having to worry about stepping on a puddle of grimy water.
They can also be washed using water, but make sure you dry them thoroughly before wearing them again. In addition, this allows you to wear what you want and not worry about cleaning your shoe’s soles all the time.
Common Questions About How To Make Shoes Less Slippery
These are some of the most common questions about how to make shoes non-slip.
How to Make Shoes Slip Resistant for Restaurant?
I would personally buy a pair of non-slip shoes with rubber soles like Vans or Converse. If you can’t spend that money, make your shoes non-slip with traction spray or use sandpaper.
How Do I Keep My Boots From Slipping On Ice?
To prevent your boots from slipping on ice, you should use unique rubber soles. You can buy a pair of non-slip shoes or use adhesive bandages. This will help you get an extra grip on slippery surfaces.
Read: Are Timberlands Good For Snow?
How To Make Tennis Shoes Non-Slip?
If you buy high-quality tennis shoes, they should be non-slip and if they are not anymore, consider purchasing a new pair. However, you can score or scuff the soles to prolong a little bit more the lifespan of your tennis shoes.
Conclusion
These were my top hacks and tips on how to make shoes non-slip. I hope they help you better grip slippery surfaces and prevent slips that could cause injuries.
It’s always better to buy a pair of slip resistant shoes with rubber soles. However, since that is not always possible to purchase new shoes, you can use the hacks and tips I shared with you.
Finally, if you have any questions about the topic or to share your personal experience with me, please leave a comment below. I’ll be more than happy to hear from you.